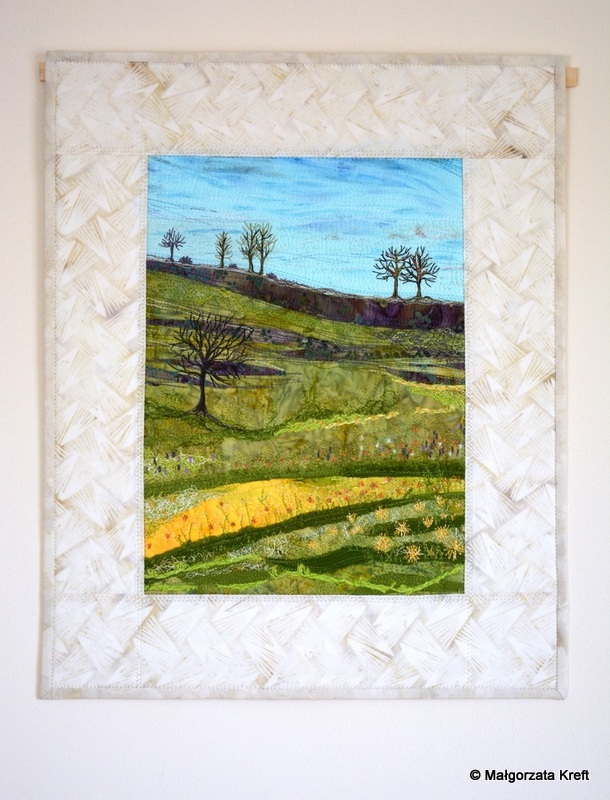
I showed this picture already. I made it half a year ago and put it away, because I couldn’t decide what’s next.
I recalled it when I was making a last year’s summary and decided to finish it. I added some sky (however funny it sounds), changing the proportions and added a wide frame. Now I like it much more.
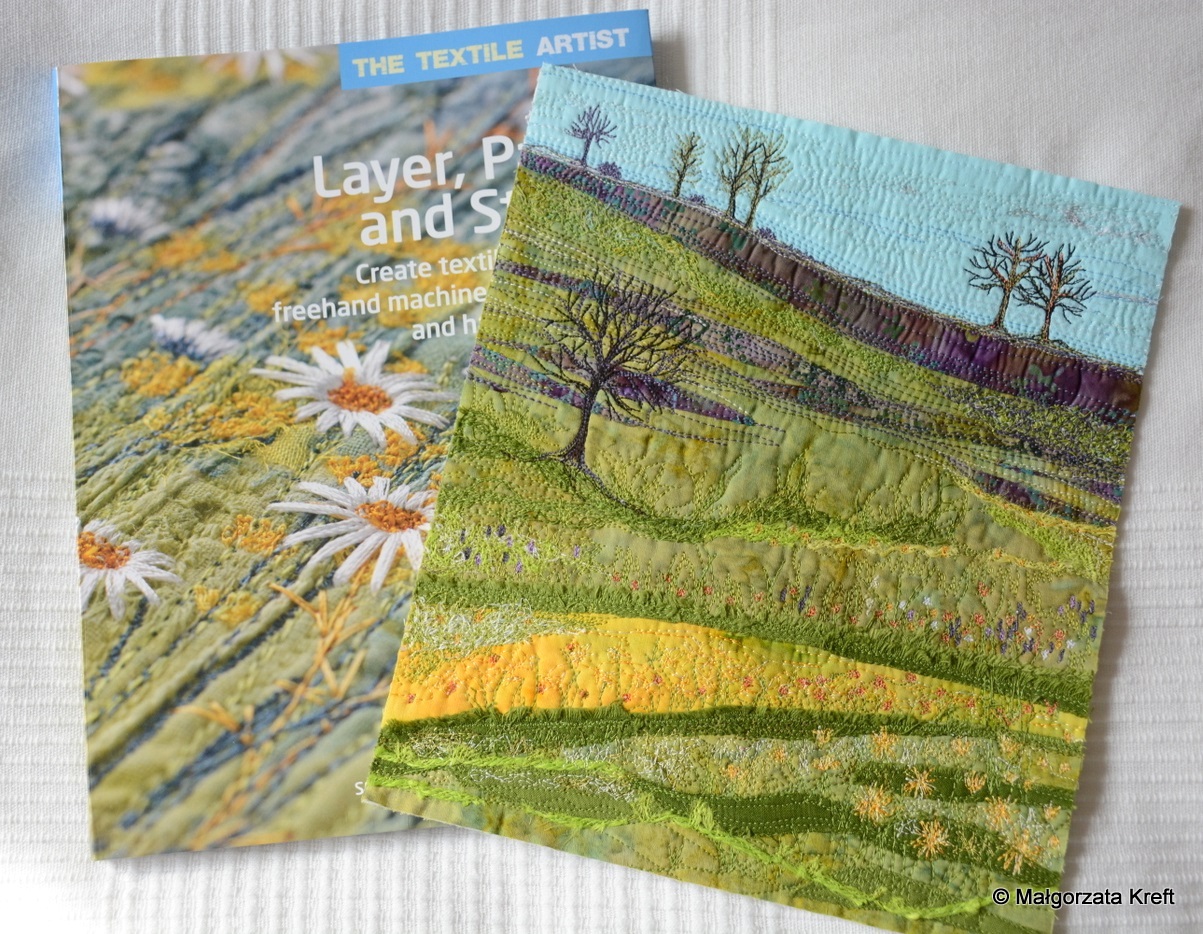
Before framing it it looked like on the picture below. There’s a book in a background which inspired me for sewing it.
I’m receiving a lot of questions about the ways of doing the stuff, so that stuff is hanging nicely and not waving. There are many ways, so Im just going to put some guidelines here, which I also already presented on numerous occasions.
This small kind of works made with scraps I usually sew on a compressed polyester stuffing with a glue. I arrange the scraps on it and when it’s done I stick it with a hot iron. This part needs to be done carefully in order to avoid an iron to be glued to the rest.
Then I quilt it all together and here I showed how.
I also wrote about the case, when the background is made of one solid piece of fabric and I arranged the plants with some scraps on it. It was here:
When it’s ready, but still without frames, I trim the borders. Then I add the frame made with an ironed filling and finish the whole job.
Here I wrote about how to enlarge existing picture to whatever size.
The picture below shows the case.
The good point about it is, that the border stays flat regardless of a picture shrank by a dense quilting. It’s possible to use a tambour of course, but in my solutions even dense quilting deforms picture minimally.
When it’s ready and again without a border I trim the edges down to a desired size. Now it’s time to add the border with ironed filling and finish the work.
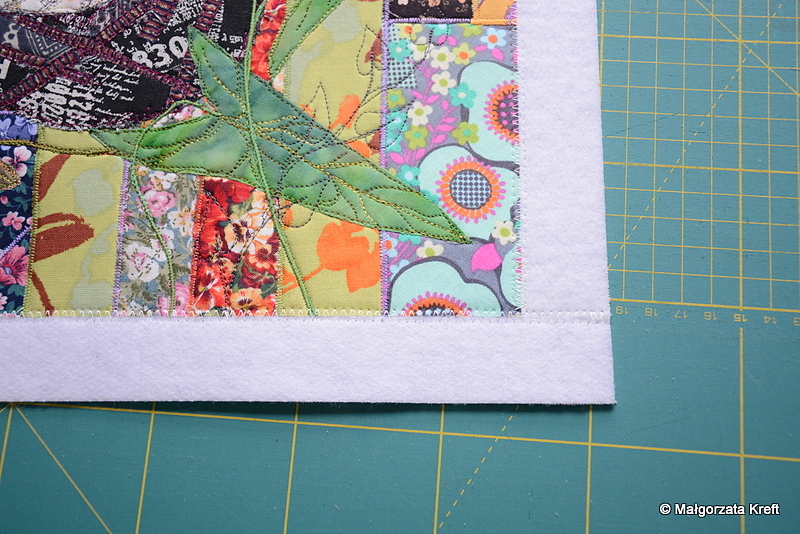
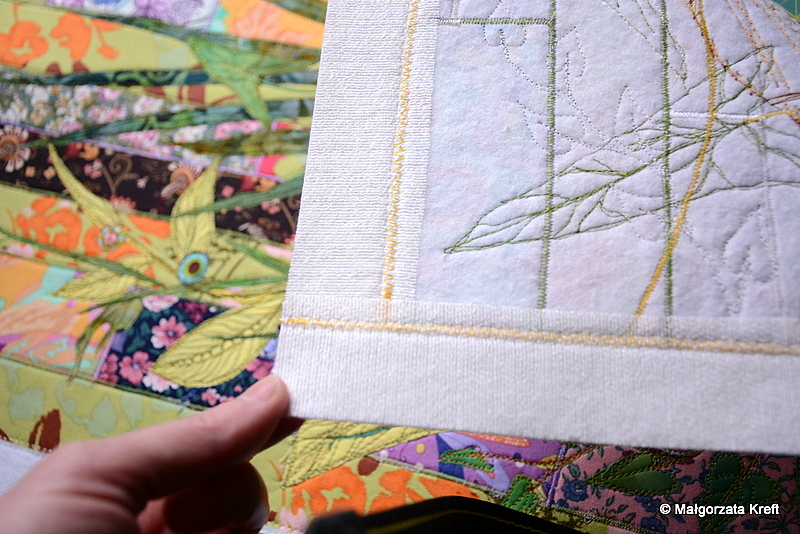
If a picture needs some additional stiffening I stick an interfacing to the back side. This is the glued fabric on a picture below, which secures the joined edges and I use it for ages already and wrote about it as well. I have several types of it and use it in various cases.
Finally I’m adding a material for a back side, matching it to a front side. It’s usually a thick piece of cotton which stiffens the whole thing.
To make things easier it’s possible to join those two parts with a fleece glued on both sides. It can be used on entire area or only at the 2 cm edges . Also everything may be sewed with a construction stitches made on the inner part of e border.
If adding an interfacing to a quilt and the edges are waving you may stretch the interfacing a little bit when sewing. It’s also possible to enforce it by gluing a pieces of the interfacing to the border.
There are many ways and I’m still inventing a new ones.
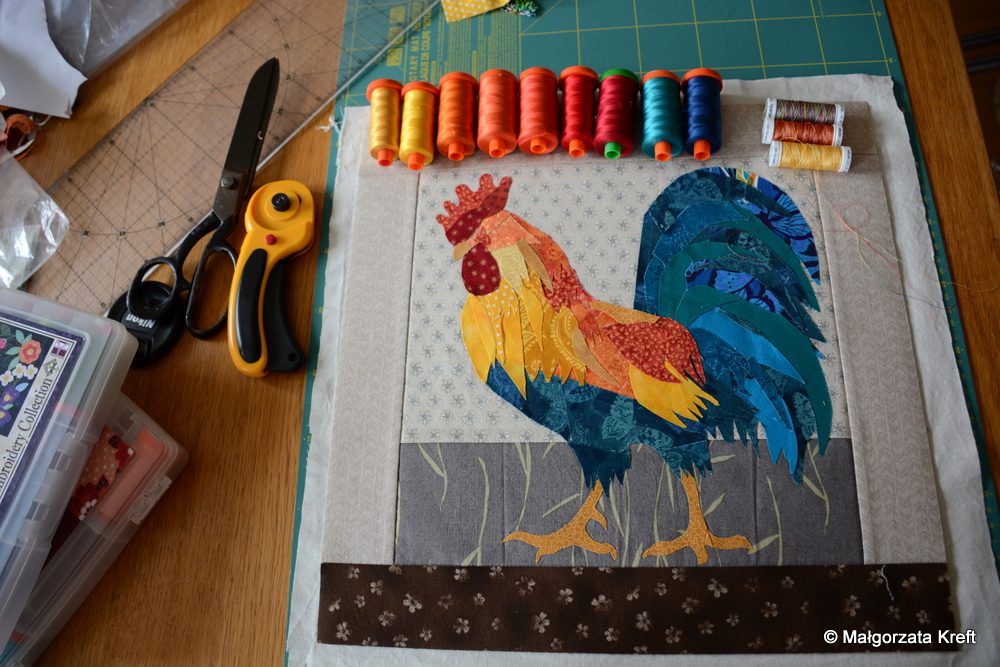
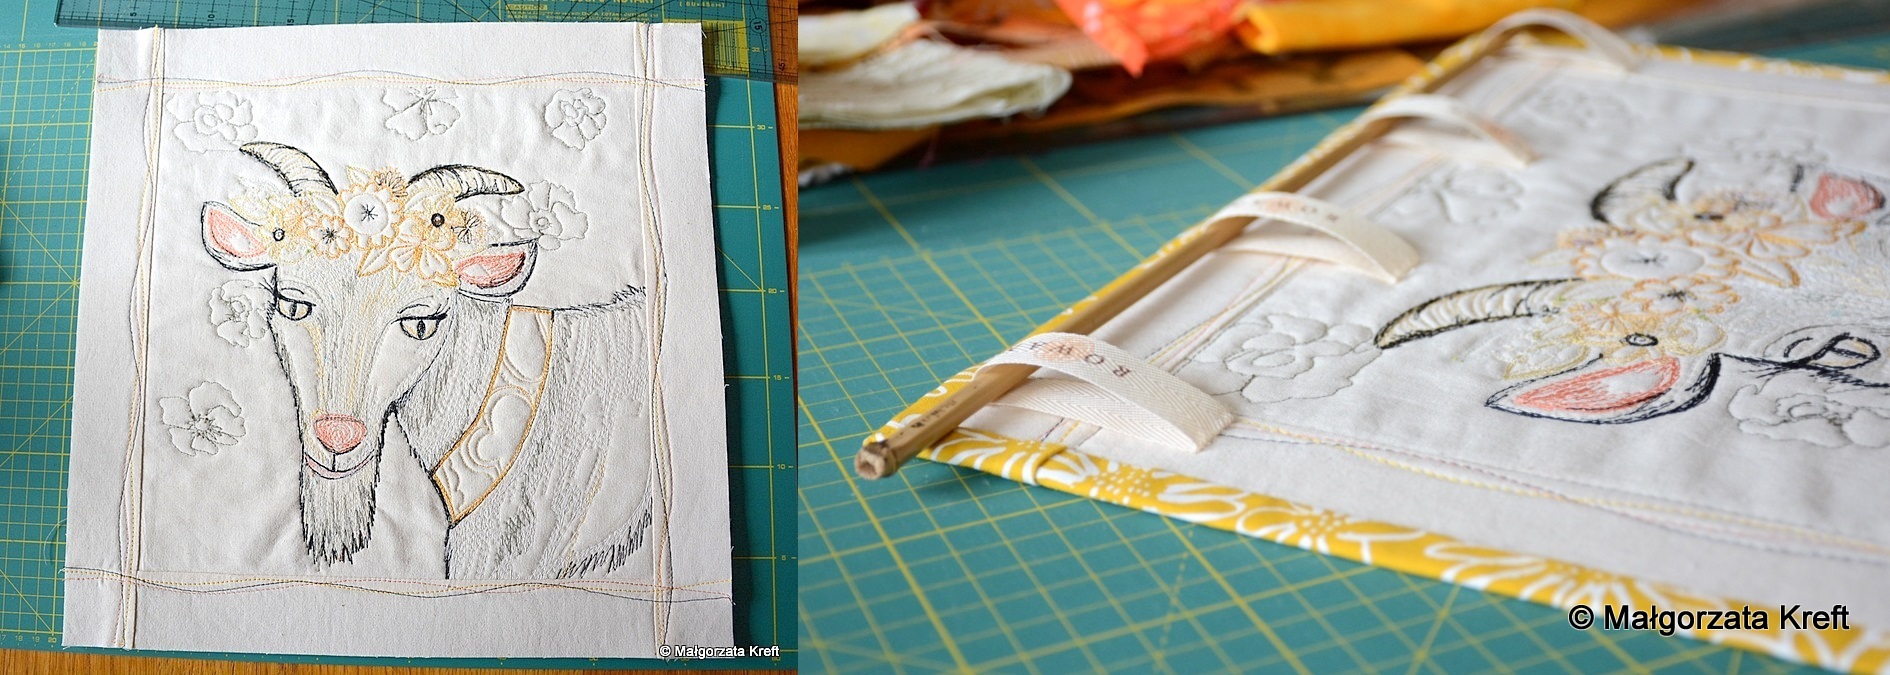
I also sewed pictures as for the usual quilting works, this rooster for instance:
…or the goat.
As you can see seemingly when I changed the thread the picture on the other side was created.
The tips which I gave above may be applied for the smaller works, having a background made of scraps or simply being an art quilts. The glued filling makes things a lot easier.
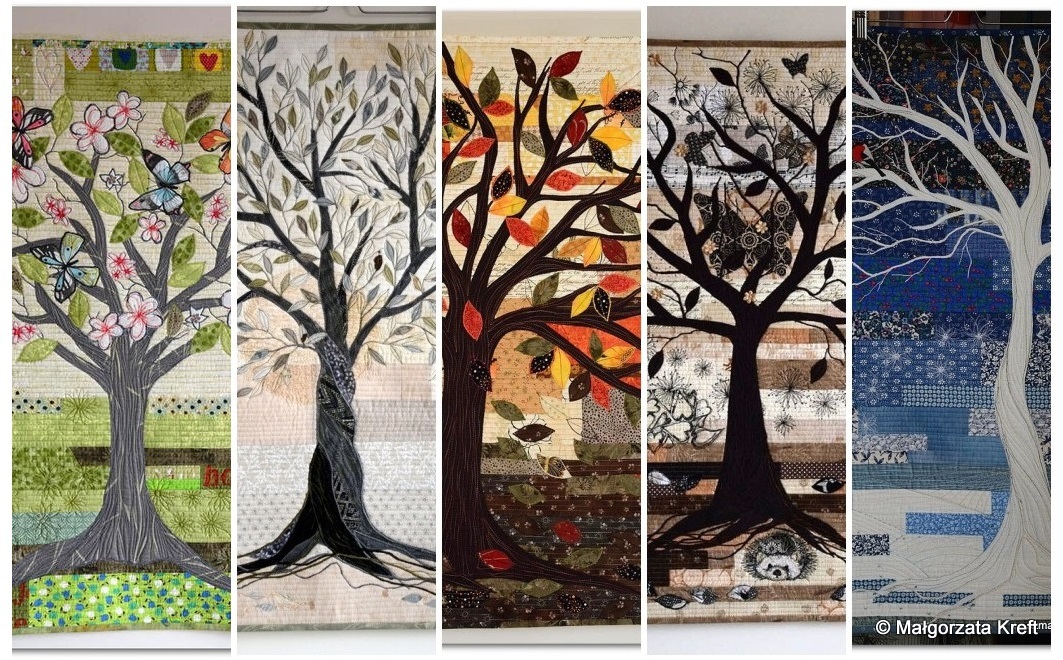
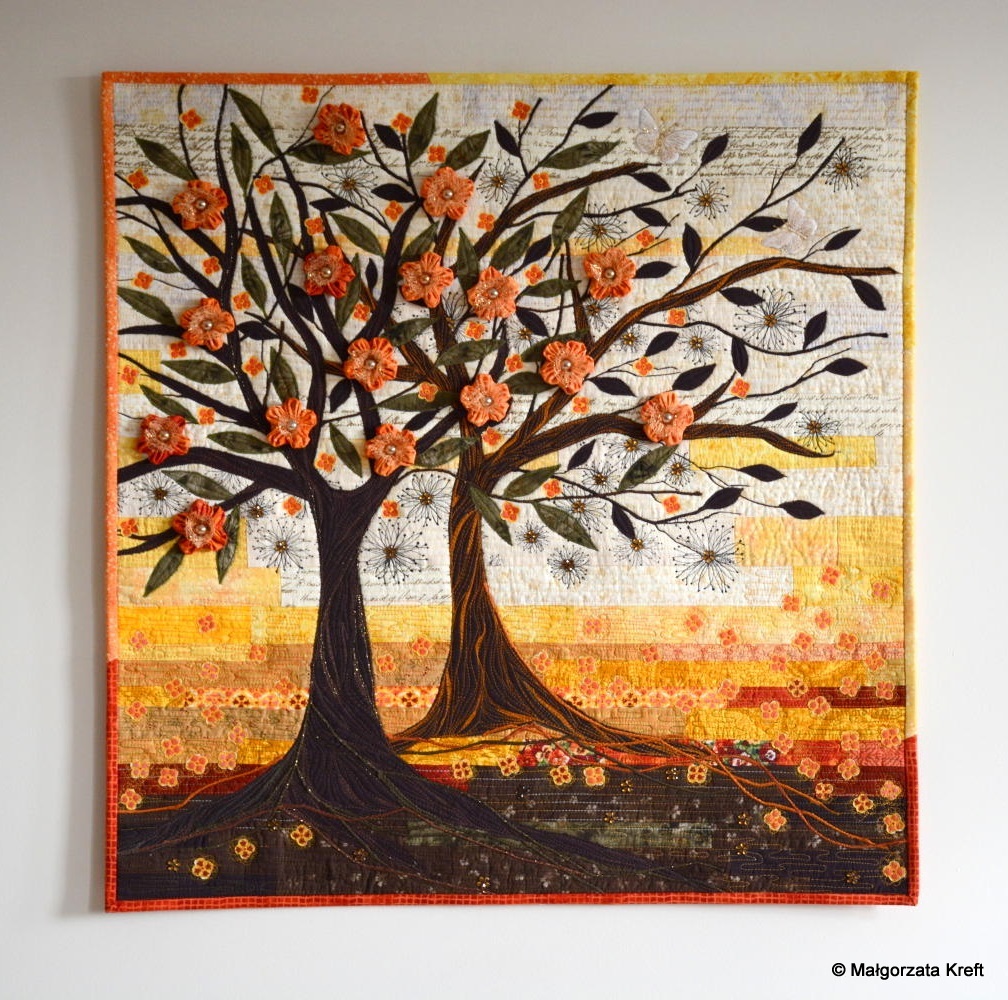
When it comes to a large pieces I frequently use a thick Polish cotton, which is just great for this job. The weight is usually enough to change the situation. Also the background in this case is a patchwork on which I arrange the composition. Using this method I made all the trees,
There’s a lot of stuffing materials and if you want to have a decent outcome it’s worth to think about it, what should be put between the top and the bottom layer. It depends on what you want to achieve. If the work should be light, warm and to wrap someone with or in the contrary, as laying down on a table or a bed… It’s just another story.
Obviously it’s also possible to discuss about different filing materials, about its good and bad sides…



Cześć,
To zdecydowanie bardziej skomplikowane, niż się wydaje. Trzeba mieć zarówno talent, umiejętności i jeszcze wiedzę. 🙂
Pozdrawiam,
Kasia
Cześć Kasiu,
Problem polega na tym, że szyję za każdym razem nieco inaczej dopasowując tkaniny, wypełnienia, do tego co chcę osiągnąć. Nie zawsze mam akurat to, co wybrałabym w danym momencie, więc szukam innego rozwiązania. Albo wykorzystuję to, co mam i czego chcę się pozbyć, bo kiedyś kupiłam. Mnie interesuje efekt końcowy, w drodze do niego dzieją się różne rzeczy… Trudno jednoznacznie opisać ogólnie jak to czy tamto zrobiłam. Czasem sama nie pamiętam. Jednakże po latach szycia mam swoje ulubione materiały i … przyzwyczajenia.
Również pozdrawiam
Najfajniejsze w twoim szyciu jest to, ze potrafisz dzielic sie swoimi doswiadczeniami, dajesz bardzo cenne rady, ja dziekuje, bo tez korzystam 🙂
Pozdrawiam serdecznie i zawsze czekam na nastepne twoje prace 🙂
To ważny komentarz dla mnie, dziękuję. Opisanie jak coś powstaje jest dla mnie dużo trudniejsze niż samo tworzenie.
Również serdecznie pozdrawiam.
Piękne te wrzosowe wzgórza. Aż by się chciało położyć i zatopić w zapachu i ciszy tego miejsca 🙂 Wspomnienie pięknej wycieczki, śliczne 🙂
W sprawy techniczne się nie zagłębiam, bo dla mnie nie do pojęcia 😉
Jolu, w zeszłym już roku wędrowaliśmy po wrzosowiskach, w czasie kiedy kwitły kwiaty. Zapach niebywały, ale to ilość sprawiła, że można go było poczuć.
A co do spraw technicznych, podobno wszystkiego można się nauczyć. Z pewnością nie na wszystko ma się ochotę.